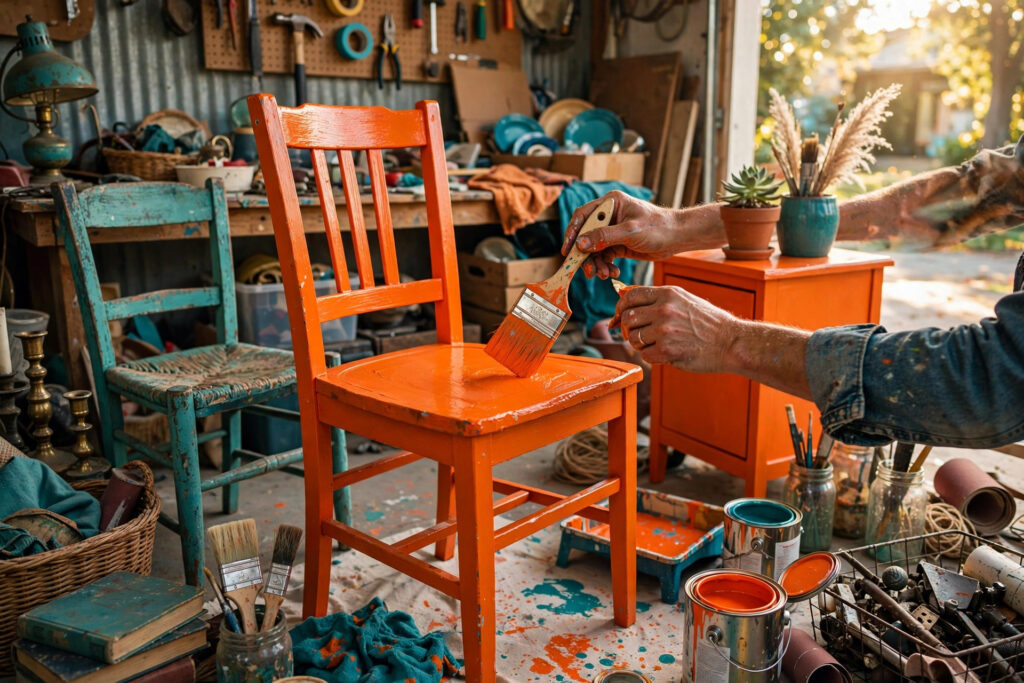
Looking for thrift furniture flips that don’t eat your whole month? Here are seven weekend-ready upcycles that turn $5–$25 thrift store finds into pieces that look like they came from a boutique. Most need nothing fancier than paint, sandpaper, and a Saturday afternoon.
Flipping furniture can start with a single piece: picture a scratched-up mid-century dresser bought for $12 at a thrift store. Four hours and one can of matte paint later, it can look like it cost ten times the price. The weekend furniture flip is one of the most rewarding thrift projects. Low risk, fast payoff, and you end up with something nobody else owns.
This guide skips the theory and goes straight to the seven beginner-friendly projects below. Each one is ranked by difficulty, cost, and time, so you can pick one tonight and start hunting tomorrow morning.
What Makes a Great Weekend Flip
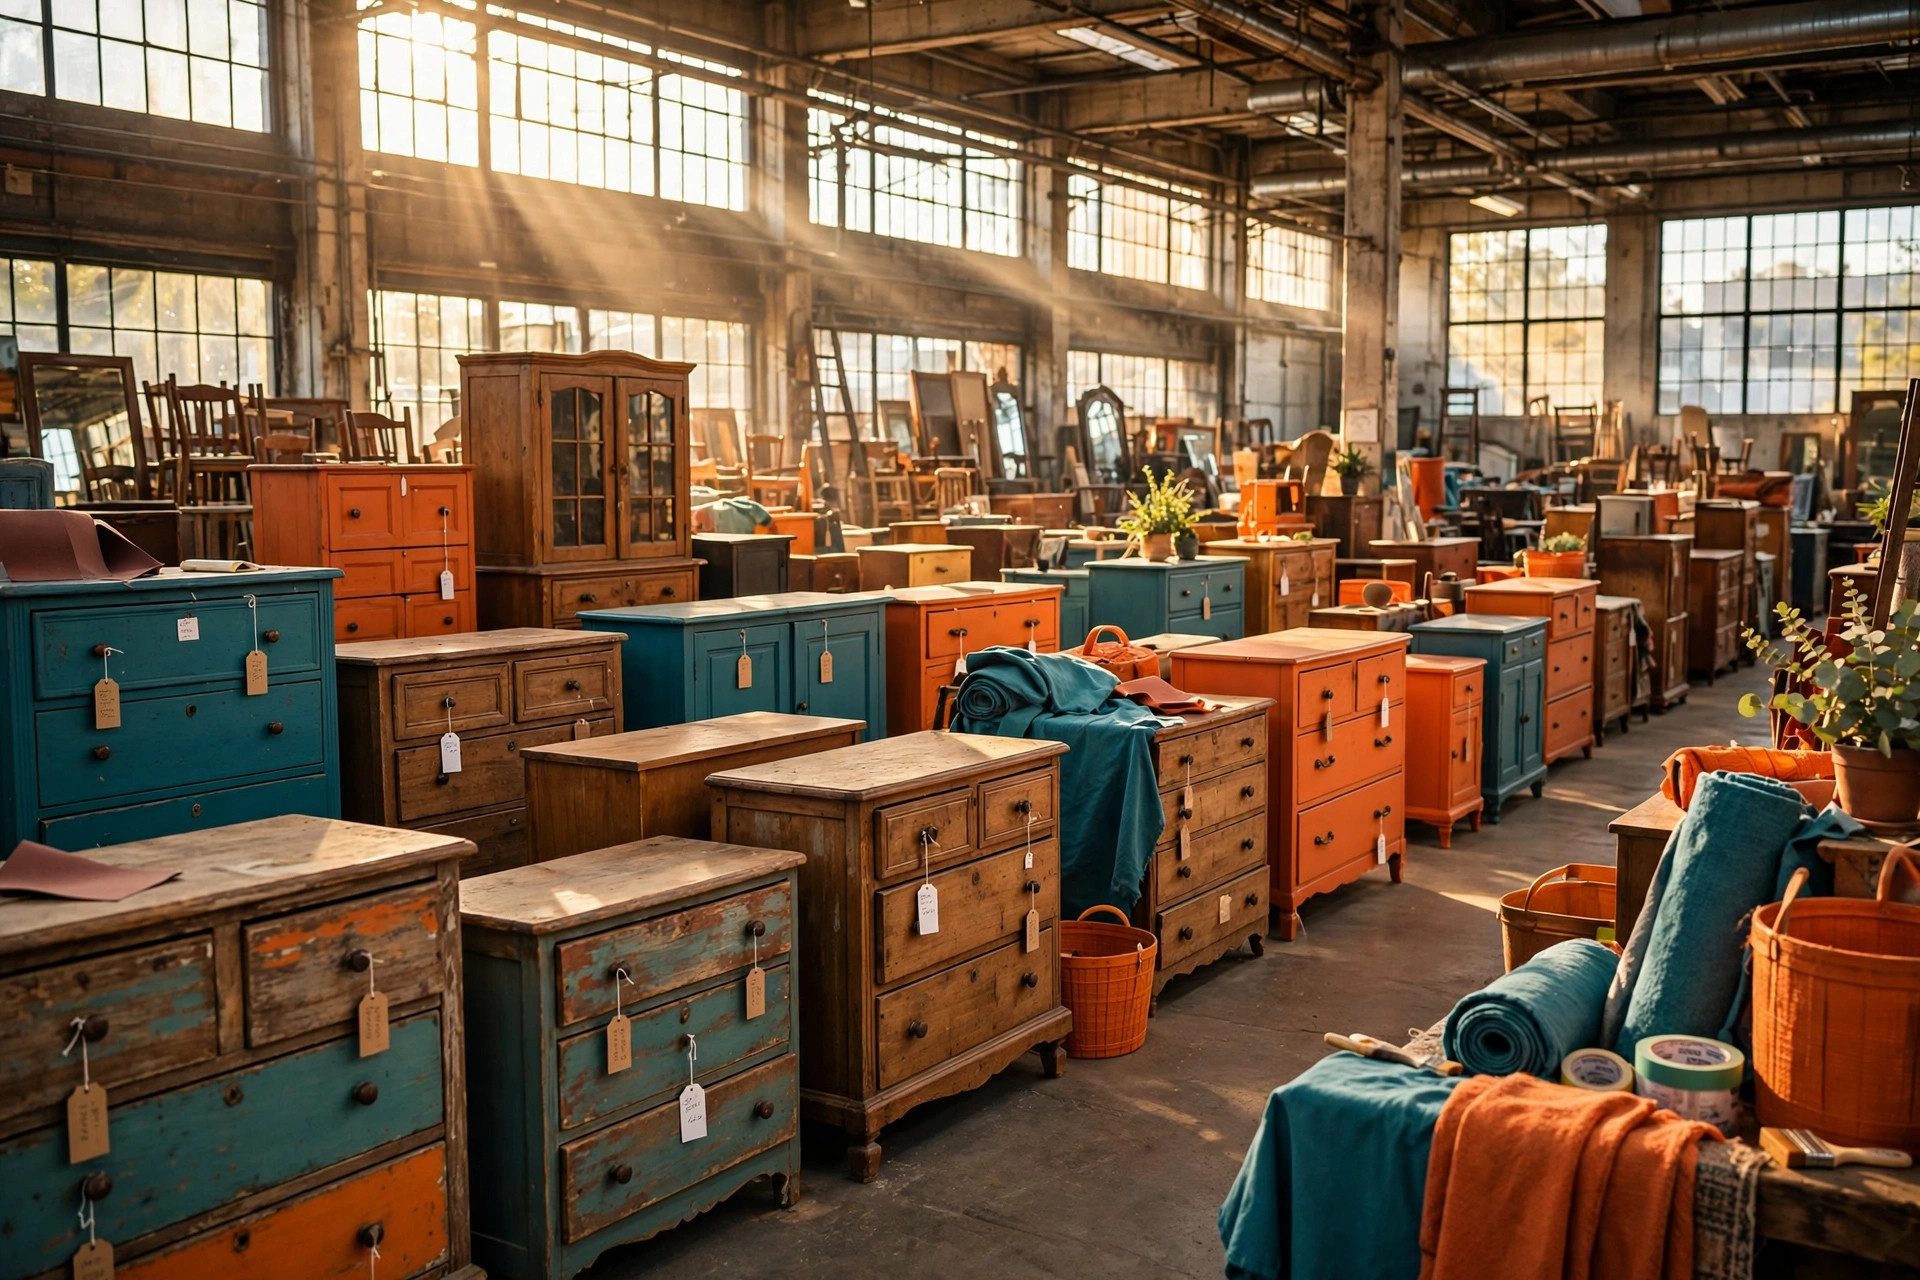
Not every thrift find deserves the effort. The best weekend flips share three traits: solid bones, small footprint, and forgiving surfaces. A wobbly particle-board bookshelf will fight you for six hours and still look cheap. A solid wood side table with scratched varnish? That’s a two-hour win.
Here’s a five-second rule for scanning a thrift store aisle. Knock on it — if it sounds hollow, walk away. Check the joints — dovetails or solid screws mean it’s worth your paint. Smell it — musty mold smell is a hard pass, while old-wood smell is fine. And lift one corner — real wood has satisfying heft. If it passes all four, it’s worth taking home.
The math is what makes this hobby addictive. According to resale data from flipping communities, a well-executed $15 thrift flip routinely resells for $80–$150 on Facebook Marketplace in metro areas. Keep it in your own home and you’ve still turned $15 into a $100 look.
The 7 Weekend Flip Projects
1. The Paint-and-Hardware Dresser ($15–$30, 4 hours)
The classic for a reason. Small wooden dressers and nightstands are everywhere at thrift stores, usually priced $8–$20 because the finish looks tired.
Sand lightly with 120-grit paper — you’re scuffing, not stripping. Wipe clean with a damp cloth. Brush on two coats of chalk or acrylic furniture paint (matte finishes hide imperfections best). Then swap the knobs: modern brass or matte-black pulls cost $1–$2 each on Amazon and change the entire personality of the piece. Total spend: about $25. Time: one afternoon, including drying.
2. The Shelf Styling Comeback ($8–$18, 2 hours)
Wooden wall shelves and floating ledges stack up at every thrift store. Paint them a bold accent color — deep teal, burnt orange, mustard — and style with books and plants. Two shelves that looked dead in 1998 suddenly look like a design-blog vignette.
Pro tip: paint the mounting brackets the same color as the shelf. Visible brackets are the #1 thing that makes painted shelves look amateur.
3. The Chair Rescue ($5–$15, 3 hours)
Dining and accent chairs are the most undervalued section of any thrift store. Most people skip them because the fabric is ugly. That’s exactly why you should buy them.
Reupholstering a simple seat cushion is a 30-minute job: pop out the seat, stretch new fabric over the old padding, and staple-gun it underneath. Pair with painted legs in a contrasting color and you have a chair that looks custom-made. A $5 chair plus $8 in fabric remnants can look store-bought when it’s done.
4. The Mirror Makeover ($5–$12, 2 hours)
Ornate framed mirrors are thrift-store royalty. The frames are usually real wood with great carved detail hiding under gold-tone or fake-walnut finishes.
Spray paint is your friend here — metallic brass, matte black, or chalky white transform an ornate frame instantly. Tape the mirror glass with painter’s tape, two light coats, and done. Bonus flip: remove the mirror entirely and stretch patterned fabric or cork across the frame for a statement bulletin board.
5. The Side Table Glow-Up ($10–$20, 3 hours)
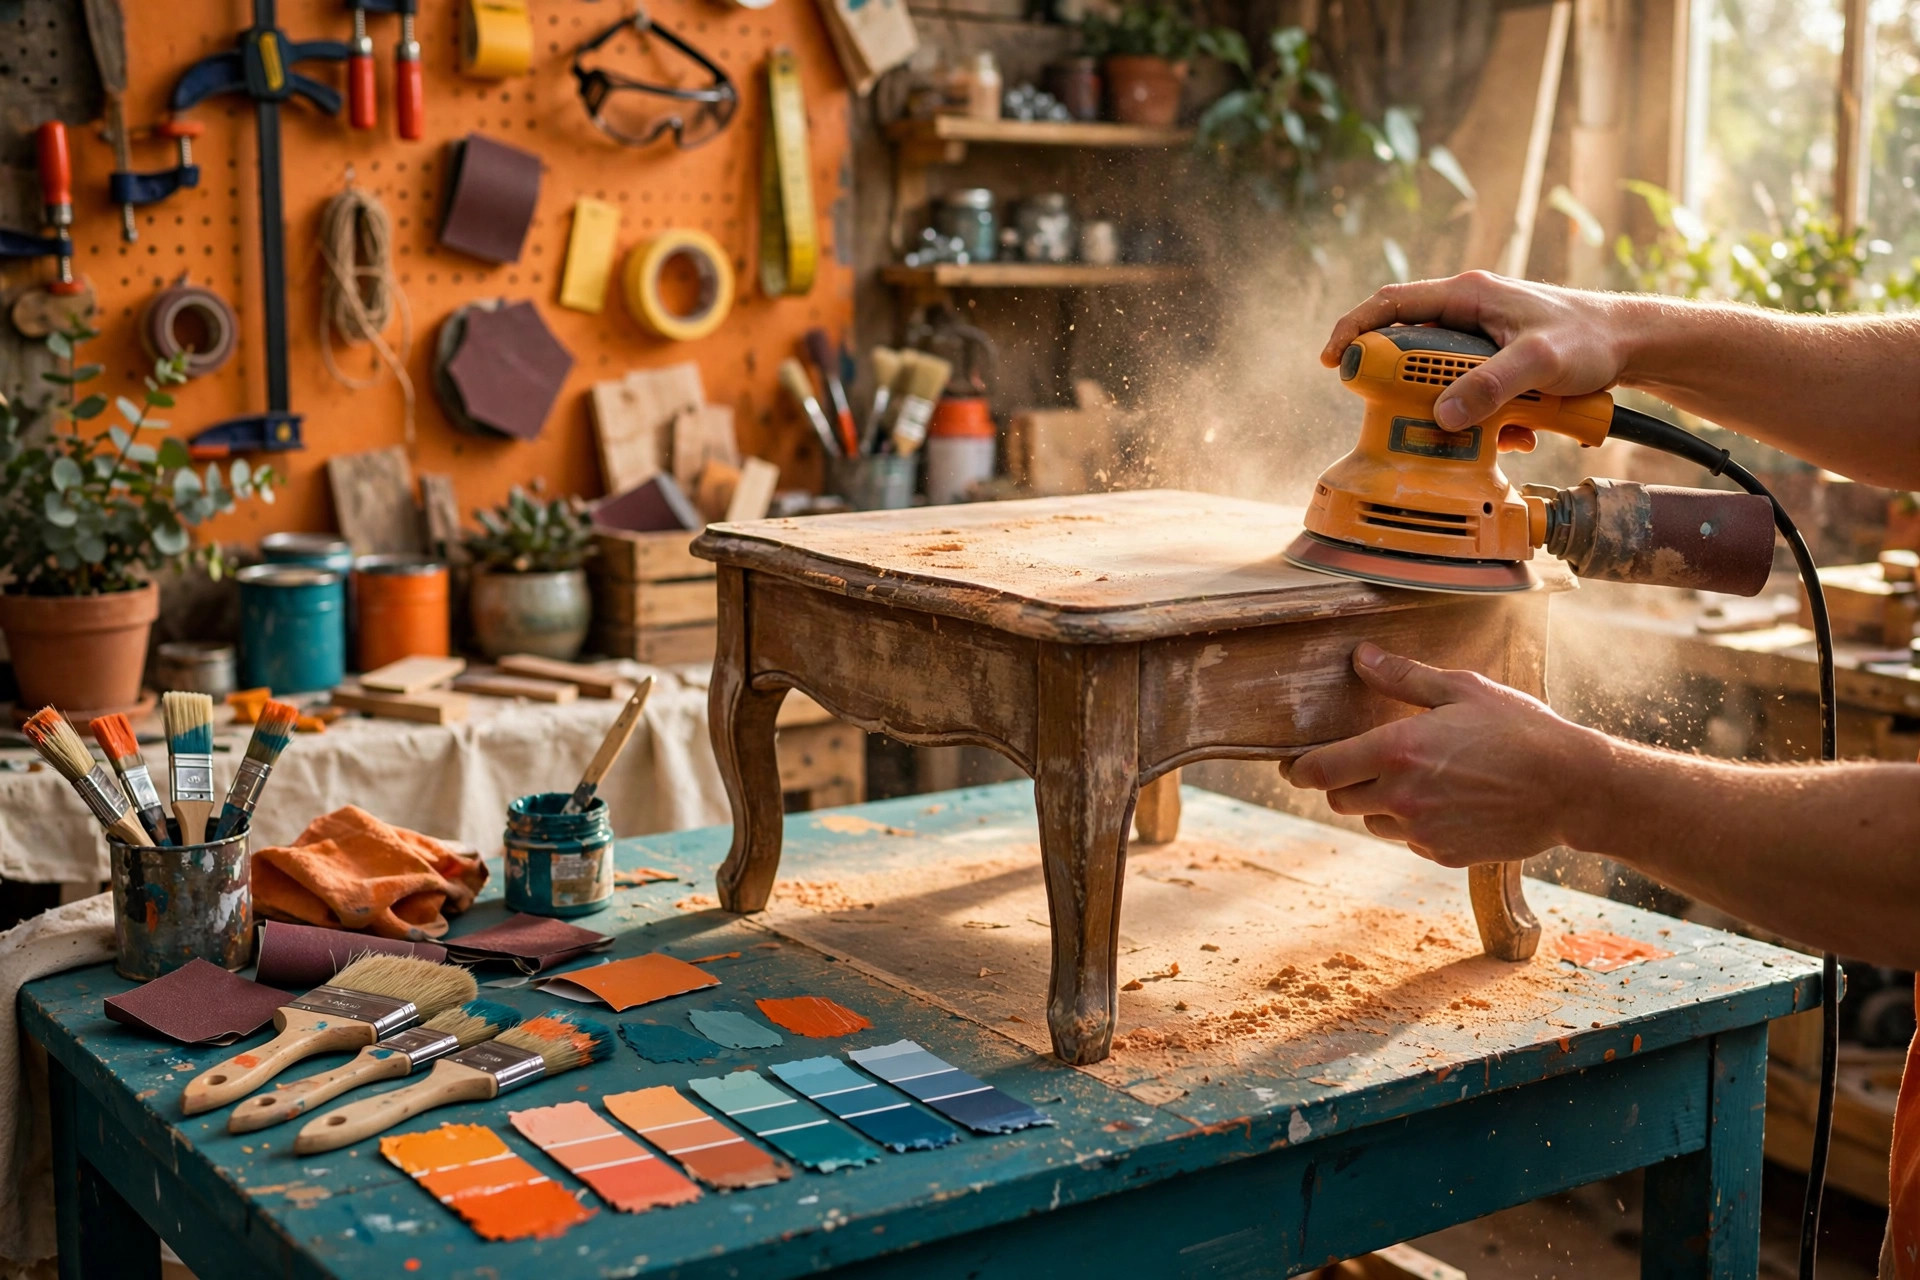
Round wooden side tables and plant stands are the sleeper hit of thrift flipping. They’re small enough to finish fast, and the finished pieces sell well.
The move here: bold two-tone. Paint the top a deep color and the legs bright white, or go full statement with one loud color all over. Add furniture wax or polyurethane on the top surface only, since that’s what takes the abuse from coffee cups. These look fantastic styled as bedside tables or entryway catch-alls.
6. The Crate-and-Cabinet Coffee Table ($12–$25, 5 hours)
This one takes a little more nerve but delivers the biggest wow. Wooden crates, low cabinets, and old toy boxes become coffee tables with the addition of four caster wheels or hairpin legs.
Flip a crate on its side for open-front storage. Sand, stain or paint, then screw on legs ($10–$15 for a set of hairpin legs online, or use cheap caster wheels for a rolling industrial look). It’s functional storage furniture for under $30, built in one weekend.
7. The Basket-and-Box Upgrade ($3–$10, 1 hour)
The fastest win on this list. Wicker baskets, wooden boxes, and magazine racks are $1–$3 at any thrift store, and they’re ugly in that special dusty-thrift way.
Line them with fabric, stain them darker, or weave ribbon through the wicker for color. One hour, nearly zero skill required, and you get organizers that look intentional instead of like clutter storage. Start here if you’ve never flipped anything — the confidence boost is worth it.
Your Weekend Flip Budget Breakdown
Here’s what a typical flip actually costs, so you can plan before you shop:
| Item | Thrift price | Materials | Total |
|---|---|---|---|
| Side table | $5–$12 | $8 (paint sample + sandpaper) | $13–$20 |
| Dresser | $8–$20 | $15 (paint + new knobs) | $23–$35 |
| Chair | $5–$10 | $8 (fabric remnant + staples) | $13–$18 |
| Mirror | $5–$10 | $5 (spray paint) | $10–$15 |
| Coffee table | $8–$15 | $15 (legs + stain) | $23–$30 |
Notice something? You never need a full gallon of paint. Buy quart or sample sizes — one quart covers a dresser easily, and samples (8 oz) handle anything chair-sized. A $15 quart of paint does 3–4 small flips, which drops your per-project cost fast.
Flip-Day Workflow: The 5 Steps
- Inspect and clean (20 min). Tighten loose screws, wipe everything with a damp cloth and a little dish soap. Let it dry fully before touching sandpaper.
- Sand and prep (30–60 min). 120-grit for scuffing, 220 for smoothing between coats. Fill dents with wood filler and let it cure.
- Prime if needed (15 min + dry time). Dark wood or laminate going to a light color needs primer. One coat of shellac-based primer stops bleed-through cold.
- Paint in thin coats (1–2 hours with drying). Two thin coats always beat one thick one. Thick coats drip, peel, and take forever to cure.
- Finish and reassemble (30 min). New hardware, furniture wax or polycrylic on high-use surfaces, then stage it somewhere nice and take the photo. You earned it.
The biggest beginner mistake is skipping dry time between coats. Paint that feels dry to the touch is not cured — give it at least 2 hours between coats and 24 hours before heavy use. Rushing this step is how you get fingerprints baked permanently into your finish.
Where to Sell Your Flips (or Keep Them All)
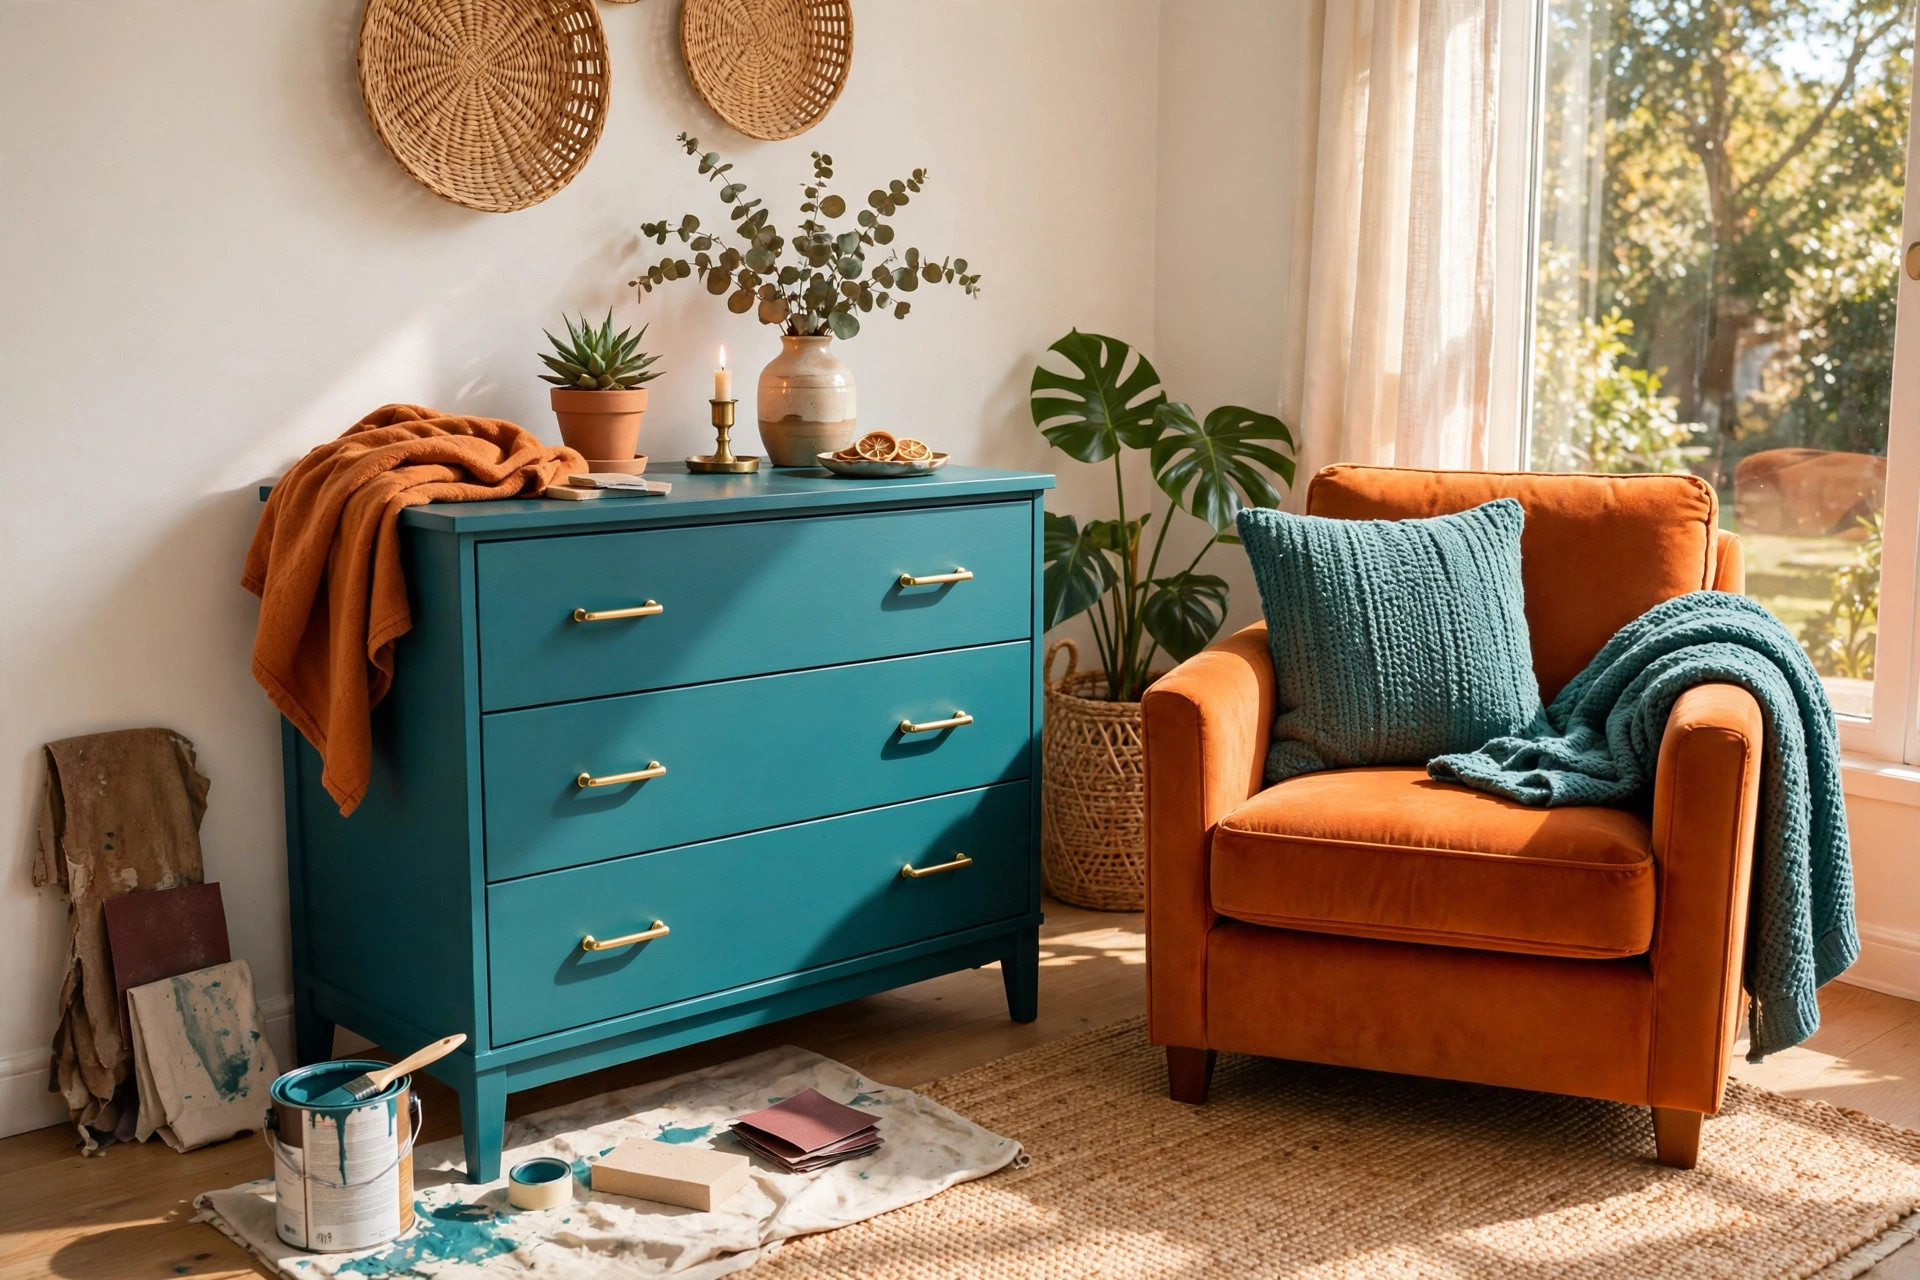
If you catch the bug, flipping can pay for itself. Facebook Marketplace and OfferUp are the fastest for local furniture sales — photograph pieces in natural daylight, style with one plant or book, and price at 3–5x your total cost. In most cities, flipped solid-wood furniture sells within a week.
Many flippers end up keeping their favorite pieces — that’s often the real prize. Either way, you’re ahead: nothing here cost more than $35 total, and every piece has a story your IKEA-furnished friends can’t match.
Frequently Asked Questions
What’s the easiest thrift furniture flip for a total beginner?
Start with project #7 — baskets and boxes. One hour, no tools beyond paint or fabric, and you can’t really mess it up. Once you’re comfortable, move to mirrors (project #4), which teach spray-paint technique on a small, forgiving surface.
How much should I spend on a thrift flip?
Keep the thrift piece under $25 and total materials under $35. As shown in the budget table above, most weekend flips land between $10 and $35 all-in. If the math pushes past $50, the piece should be exceptional — otherwise put it back and keep hunting.
Do I need to sand before painting thrift furniture?
Yes — but only lightly. A quick scuff-sand with 120-grit paper gives paint something to grip. You don’t need to strip to bare wood unless the old finish is peeling badly. Laminate and very glossy surfaces need a bonding primer on top of the sanding.
What paint is best for thrift store furniture flips?
Acrylic latex furniture paint in a satin or matte finish is the safest all-rounder: affordable, low-odor, and durable with a topcoat. Chalk paint skips primer on most surfaces but needs wax sealing. Spray paint is unbeatable for ornate frames and small pieces with lots of detail.
How do I know if a thrift piece is worth flipping?
Knock on it — hollow means particle board, walk away. Check joints for dovetails or solid screws, sniff for mold, and lift a corner for real-wood heft. Solid wood with scratches or ugly finish is the jackpot; wobbly, water-damaged, or moldy pieces aren’t worth your Saturday.
This article was created with AI assistance and reviewed by our editorial team before publishing.