
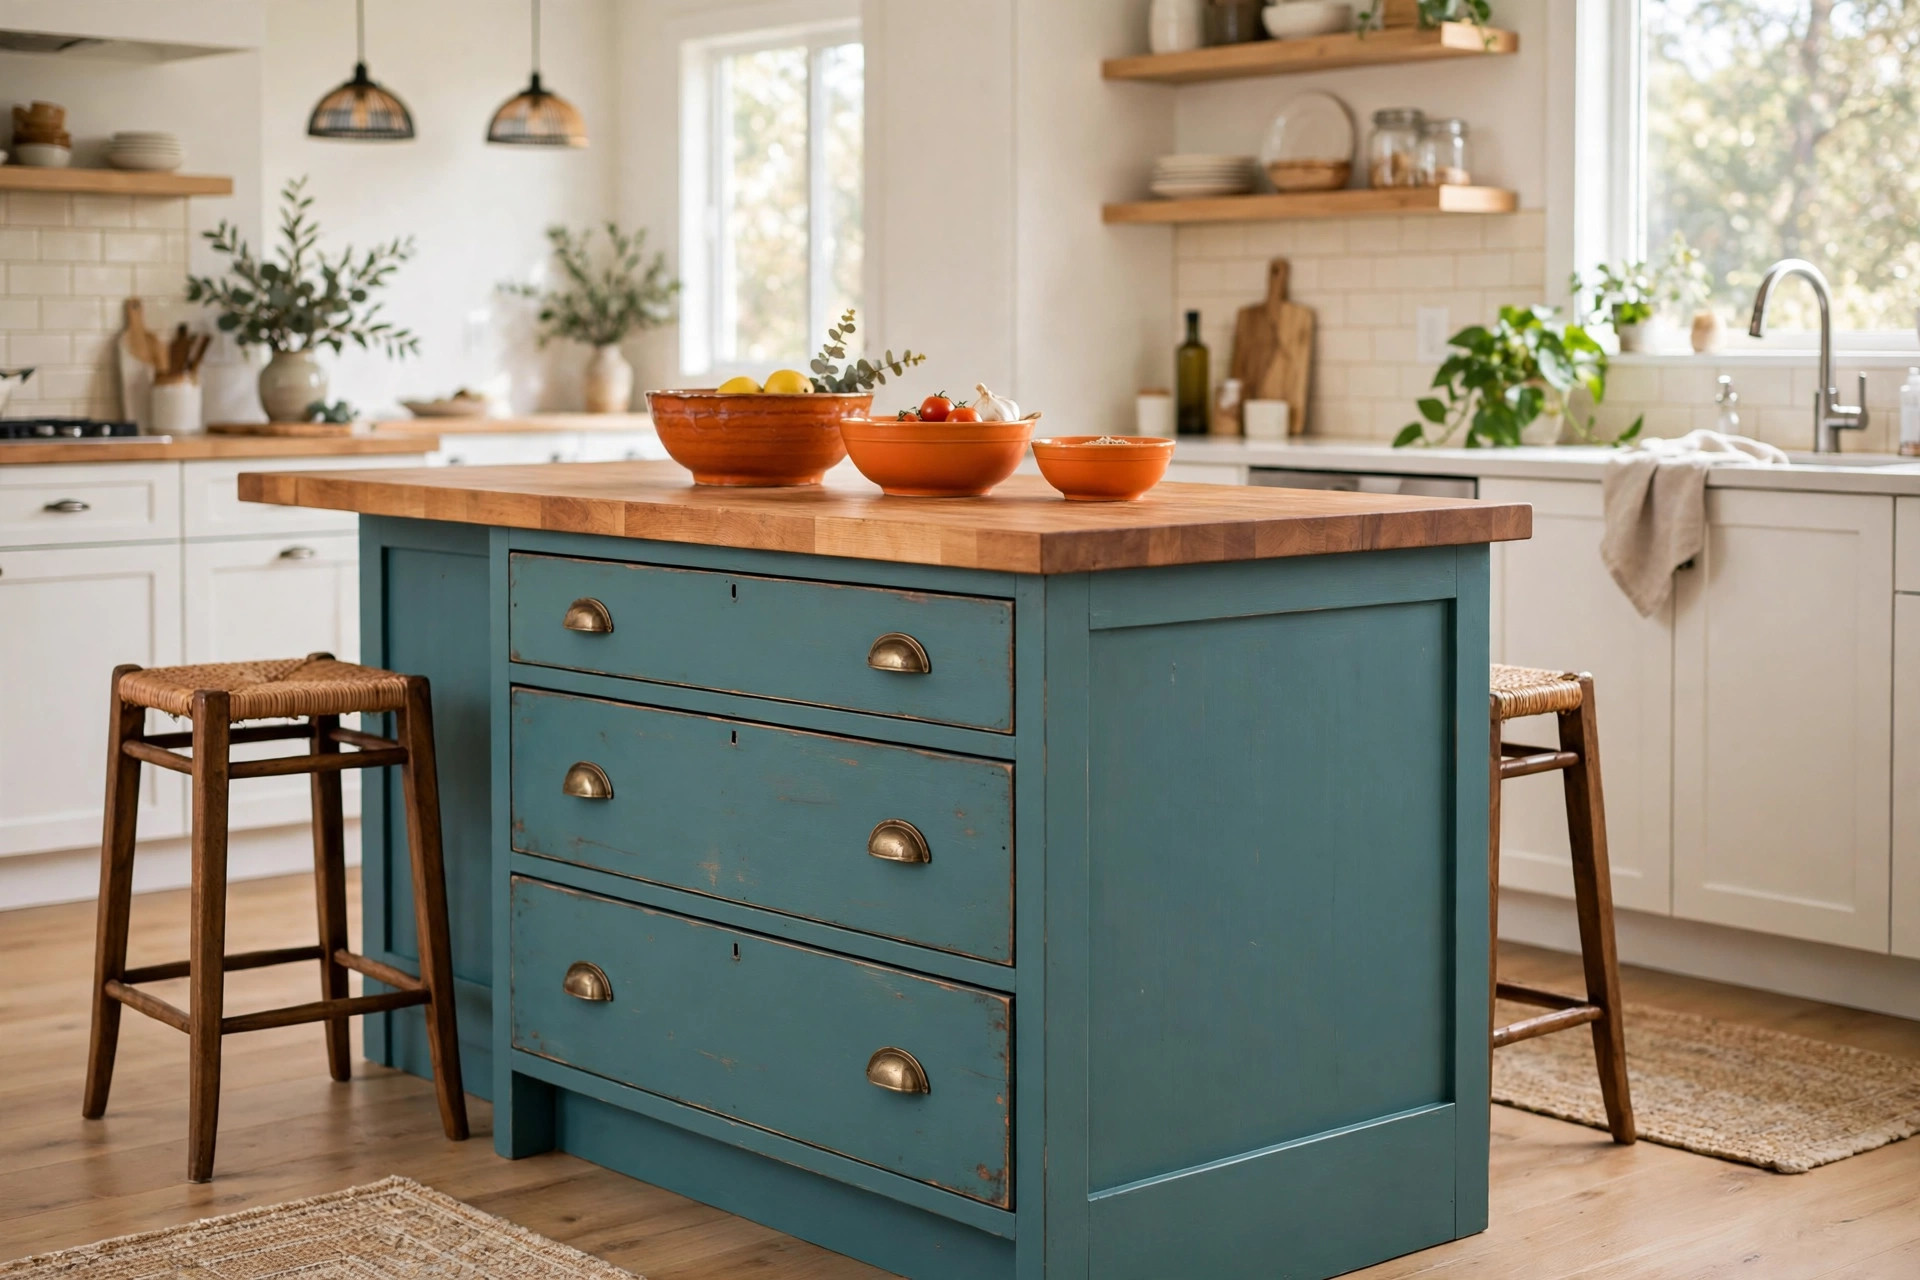
A solid wood dresser can become a kitchen island in one weekend, and it beats a flat-pack island on storage, sturdiness, and character. You keep the drawers, raise the body to counter height, add a tougher top, and paint or seal the finish so spills wipe off. Total hands-on time runs about six to eight hours, spread over two days so paint can dry.
Why a dresser works as an island
Think about what an island actually does. It holds things, it gives you a work surface at counter height, and it takes knocks without wobbling.
A dresser already does two of those three jobs straight off the thrift store floor. The drawer boxes are real storage, not the shallow fake fronts you get on budget island kits. The frame is usually heavier than flat-pack board, too.
Height is the one gap. Most dressers stand 30 to 34 inches tall, while standard kitchen counters sit at 36 inches, the height cabinet makers build to as a norm. So the whole project comes down to one thing: adding two to six inches, cleanly, under a body that can carry weight.
Do that part well and nobody guesses. Do it badly and the piece rocks every time you chop an onion.
Finding the right dresser
Not every cheap dresser deserves the job. You want solid wood or sturdy plywood, a flat top you can remove or cover, and drawers that slide without a fight.
Skip anything with a sagging bottom, water-swollen sides, or a back made of thin hardboard that flexes when you push it. That back panel matters more than you’d think. It’s part of what keeps the box square.
Run through this check before money changes hands:
- Open every drawer. Sticky is fixable, but a cracked drawer box is a rebuild.
- Push the dresser sideways from one end. A little creak is fine. A visible sway is not.
- Measure the depth. Around 18 to 22 inches works well, since a deeper top can overhang it on all sides.
- Check the top for veneer bubbles or deep gouges. You’ll cover it, but rot is a deal-breaker.
- Smell the drawers. Smoke and mildew odors are hard to seal in, and your kitchen is the worst place to learn that.
Long, low dressers beat tall, narrow ones here. Six drawers in a row give you a landing strip for utensils, linens, and the junk drawer every kitchen insists on having.

Two ways to build it, side by side
You’ve got two honest routes. Strip and restain the wood if it’s pretty, or paint the body and leave only the top natural. Here’s how they stack up:
| Painted body, wood top | Full restain | |
|---|---|---|
| Best for | Mixed woods, patched veneer, bold kitchens | Oak, pine, or maple with good grain |
| Prep time | Shorter — scuff sand, prime, paint | Longer — full strip and sand to bare wood |
| Hides flaws? | Yes, filler and paint forgive a lot | No, every repair shows |
| Kitchen toughness | High with a satin or semi-gloss finish | High if you seal with polyurethane |
| Look | Crisp, deliberate, a bit farmhouse | Warm, furniture-first, quieter |
Can’t decide? Paint. A first conversion has enough moving parts without adding a full stripping job on top. You can always restain the next one.
The conversion, step by step
1. Empty and strip it down. Pull the drawers out, take off every knob, and remove the top if it’s screwed on from underneath. Keep the screws in a labeled bag. Future you says thanks.
2. Clean, then sand. Wash the whole piece with a degreasing cleaner first — old furniture polish will fight your paint all day. Then sand with 120-grit paper, followed by 220-grit, just enough to dull the shine and smooth the rough spots.
3. Raise it to counter height. The cleanest fix is a simple plinth: a box frame of 2×4 lumber, built to the dresser’s footprint, that lifts the body to 36 inches total once the new top goes on. Screw the plinth to the floor of the dresser, not just to its legs. Bun feet or furniture legs work too, but only if each one lands on a solid corner block.
4. Add a back worth looking at. Islands get seen from every side, and a dresser’s back is usually its ugly side. Cover it with beadboard panel, tongue-and-groove boards, or a sheet of finished plywood, cut to size and painted to match. This one step does more for the finished look than anything else on this list.
5. Fit the top. A butcher block slab is the classic pick, and it can overhang the body by an inch or two on the drawer side and up to 12 inches on the seating side if you want stools underneath. No seating? Keep the overhang small and even. Seal every side of the slab, including the underside, so steam from the dishwasher doesn’t warp it later.
6. Paint and seal. Prime first, always. Then two thin coats of cabinet or trim paint in satin or semi-gloss, with a light sand between coats if you want it smooth. Thin coats dry harder. Thick coats stay soft and chip at the corners where chairs bump them.
7. Put the storage back to work. Line the drawers, refit the hardware, and decide what lives where before the island drifts into its final spot. Heavy pots go low. The drawer closest to your prep zone gets the knives and tools.
Tools and time, honestly counted
You don’t need a workshop for this. A drill, a sander, a saw for the plinth boards and back panel, a tape measure, and a level cover nearly everything. Borrow the saw if you have to — plenty of lumber yards will cut boards to your measurements for a small fee, and that turns the noisiest step into a pickup trip.
As for the clock, be honest with yourself. Hunting the dresser takes as long as it takes. The build itself splits into two short days: day one for cleaning, sanding, the plinth, and the back panel; day two for the top, paint, and hardware. Trying to rush paint and assembly into one afternoon is how fingerprints end up sealed under a topcoat.
Small touches that sell the illusion
New hardware helps more than new paint, oddly enough. Swap dated knobs for simple pulls in one finish, and match them to your faucet or cabinet handles if you can.
A towel bar on one end costs little and gets used daily. Hooks on the back panel hold measuring cups and free up a drawer. Casters? Tempting, but skip them unless they’re the locking kind rated for real weight — a loaded island on cheap wheels wanders.
One more thing. Level it. Kitchens floors slope more often than people expect, and a marble rolling off your island every morning gets old fast. Shims under the plinth fix it in five minutes.
Before your first dinner on it
- Top sealed on all sides, including underneath
- Plinth screwed to the dresser body, not just resting under it
- Back panel fitted and painted — no raw hardboard showing
- Island level, with no rock when you lean on a corner
- Drawers loaded heaviest at the bottom
- One full wipe-down done, so the first meal doesn’t taste like paint fumes
That’s the whole trick, really. A dresser is a box that stores things, and so is an island — you’re just giving the box taller legs, a tougher hat, and a better view. Find the right one, take your time on the plinth, and your kitchen gets a piece of furniture with a past life and a long second one ahead of it.
This article was created with AI assistance and reviewed by our editorial team before publishing.