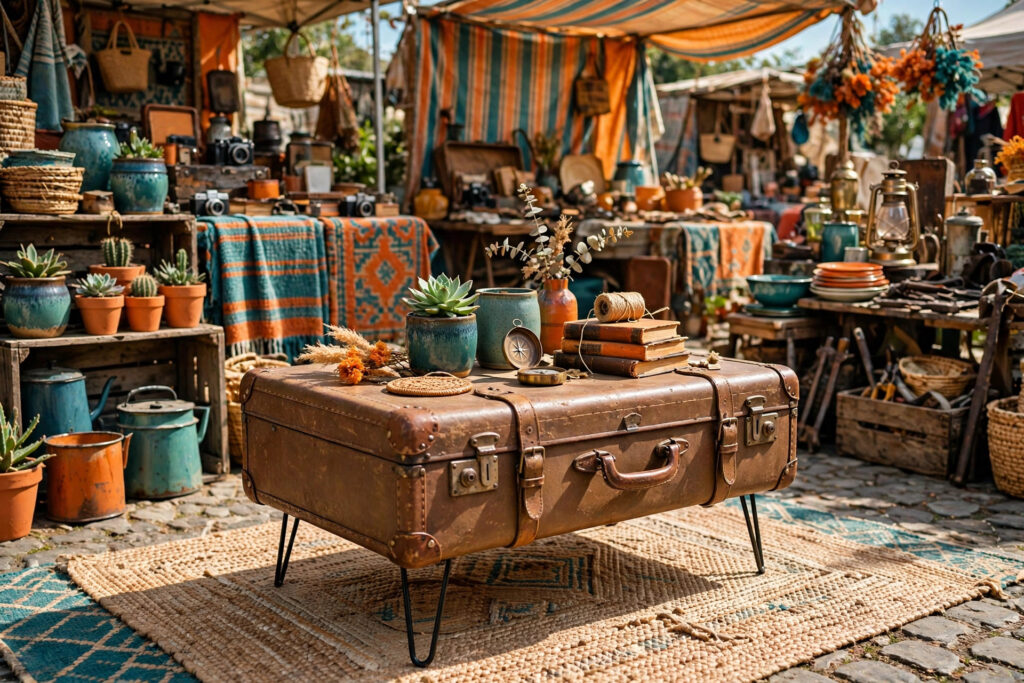
You can turn a thrifted vintage suitcase into a sturdy coffee table with hidden storage in about two hours of bench work. The flip needs four hairpin legs, a plywood base panel, basic cleaning supplies, and a drill. Hard-shell suitcases from the 1950s through the 1970s work best because the cases are rigid enough to hold weight without flexing.
Start With the Right Suitcase
Not every old suitcase survives this project. The case has to act like a piece of furniture, so rigidity matters more than looks. A pretty case with a sagging lid will wobble every time someone sets down a mug.
Run through this checklist on the thrift store floor before you pay:
- Press the lid. Push down hard in the center. A hard-shell case should barely give. Soft-sided and cardboard cases flex too much for table duty.
- Check the hinges and latches. Open and close the case three or four times. Latches that still snap shut keep the storage half of this project actually useful.
- Sniff the interior. A faint musty smell usually airs out. A sharp mildew or smoke smell soaked into the lining is much harder to rescue, so price it down or walk away.
- Measure the footprint. Most coffee tables sit 16 to 18 inches high. A suitcase body around 5 to 7 inches deep plus 12-inch legs lands right in that range.
- Look at the corners. Cracked corners and peeling veneer add repair time. Scuffs, stickers, and travel-worn edges are fine — they are the charm.
Train cases and small vanity cases make great side tables instead. Same steps, smaller payoff, quicker afternoon.

What You Need on the Bench
The supply list stays short, and most of it is probably already in a junk drawer. Buy the legs first, since leg height decides the finished table height.
- Four hairpin legs, 12 to 16 inches, with mounting plates and screws
- A piece of 1/2-inch plywood cut to fit inside the bottom of the case
- Wood glue and a drill with a small bit for pilot holes
- 120-grit and 220-grit sandpaper
- Dish soap, warm water, and two soft cloths
- Baking soda for odor duty
- Optional: spray paint or clear matte sealant for the exterior
Ask the hardware store to cut the plywood to your measurements. Bring the suitcase dimensions written down, not the suitcase. Stores cut plywood for free or a small fee, and a clean factory edge beats a wobbly home cut every time.
Step 1: Clean It Like You Mean It
Vacuum the interior first, including the pockets and the seam where the lining meets the shell. Decades of dust hide in those seams. Then wipe every surface, inside and out, with a cloth dampened in warm water with a drop of dish soap.
For odor, sprinkle a generous layer of baking soda across the lining, close the lid, and leave it overnight. Vacuum it out the next day. Stubborn smells may need a second round. Skip scented sprays — they mask the smell for a week and then mix with it, which smells worse.
Let the case dry fully before you move on. Glue and damp lining do not get along, and trapped moisture under a new base panel invites the exact mildew you just evicted.
Step 2: Deal With the Lining
You have three honest options here, and the right one depends on the lining’s condition.
Keep it
If the lining is intact and the pattern is fun — old plaid, faded floral, a map print — keep it. Vintage lining is half the personality of the finished piece, and buyers at markets gravitate toward that original detail.
Cover it
Stained but solid lining takes a cover well. Cut a piece of fabric about an inch wider than the interior on all sides, fold the raw edges under, and glue it down with fabric glue, working from the center outward to push out air bubbles.
Remove it
If the lining is torn, sticky, or still smells after two baking soda rounds, pull it out. Work a putty knife gently under the edges and peel slowly. The bare interior then needs the plywood base from the next step anyway, so removal costs you nothing structurally.
Step 3: Reinforce the Base
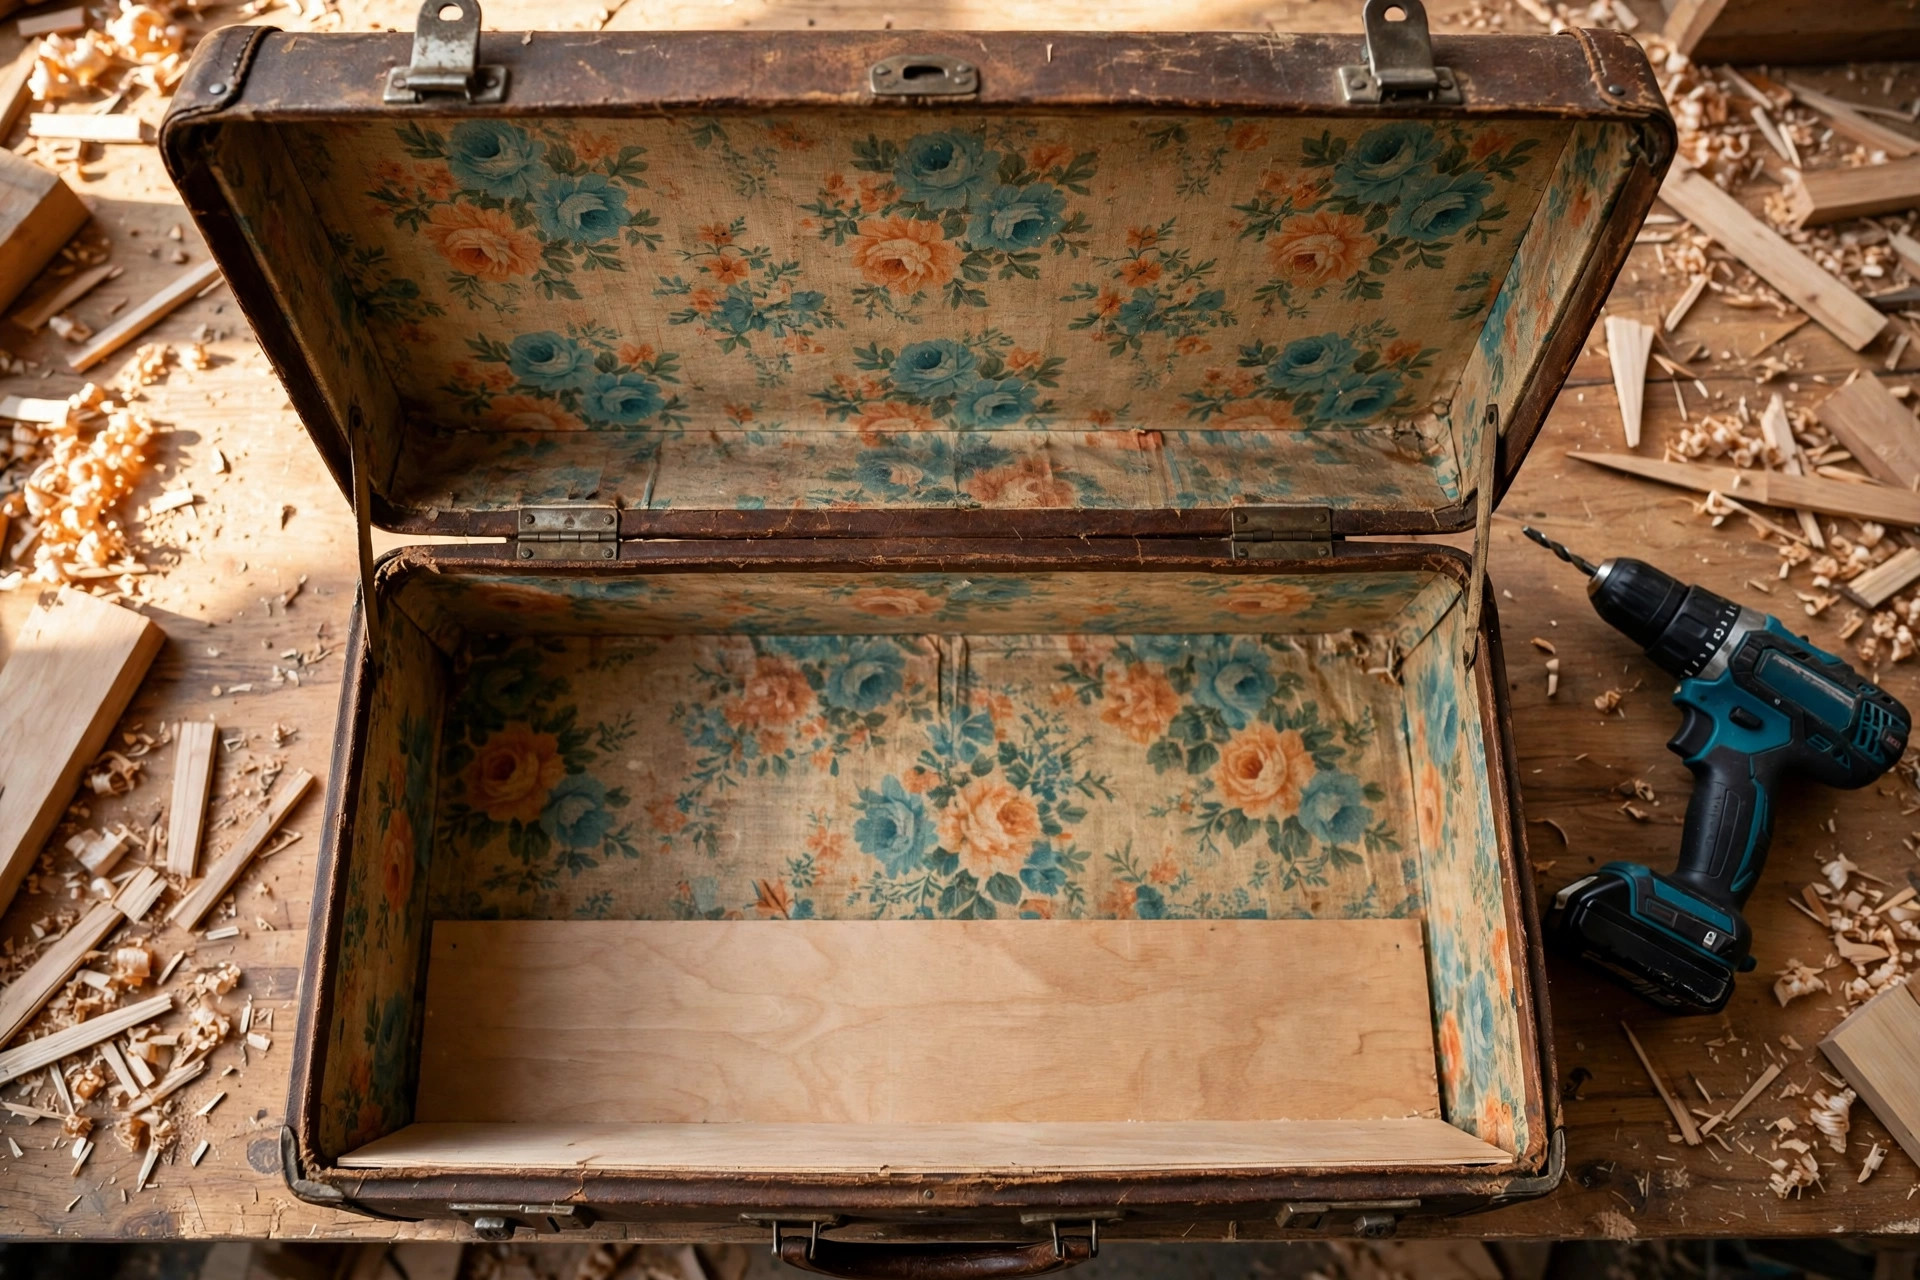
Here is the step that separates a table from a wobbly novelty. Suitcase bottoms were built to hold sweaters, not coffee table books and resting feet. The plywood panel spreads the load across the whole base.
Set the plywood inside the bottom of the case. It should sit flat with no rocking. Run a bead of wood glue around the underside edge, press it down firmly, and stack heavy books on top while it cures. Follow the cure time on your glue bottle — most wood glues want a full day before they take real stress.
Sand the plywood edges with 220-grit paper if any edge catches your hand. Nobody sees this panel, but the legs in the next step mount through it, so flat and solid beats pretty.
Step 4: Attach the Legs
Flip the closed suitcase upside down on a soft surface so you do not scratch the lid. Position each leg mounting plate about an inch in from the corners of the base. Mark the screw holes with a pencil.
Drill pilot holes at each mark. This matters: driving screws straight into a vintage case can split the shell material, and a split corner is miserable to fix. Keep the pilot holes shallow — you want the screw to pass through the case bottom and bite into the plywood panel beneath it, which is where the real holding strength lives.
Use screws long enough to reach well into the plywood but short enough to stay hidden inside the case. For a typical case wall plus 1/2-inch plywood, 3/4-inch screws are a safe starting point; hold one against the case edge to check before you commit. Drive all four legs, then flip the table over and give it a firm two-handed shake. A tiny bit of flex in the case is normal. A leg that moves on its own is not — back the screws out, add a drop of glue in the holes, and drive them again.
Step 5: Finish the Outside
Decide how far to take the exterior. Scuffed leather-look cases often need nothing more than the wash from Step 1. If the surface is stained or the color fights your room, paint is fair game.
Sand painted surfaces lightly with 220-grit paper first so new paint has something to grip. Two thin coats of spray paint beat one thick coat, which drips and stays tacky. Let each coat dry per the can’s instructions before the next one goes on. A clear matte sealant over the top protects the finish from mug rings and coaster-free guests.
Skip painting any case with a genuinely interesting exterior — old airline stickers, a hand-painted name, faded destination labels. That wear is the story of the piece. Paint erases it, and plain painted cases are everywhere.
Selling It? Price the Work, Not Just the Case
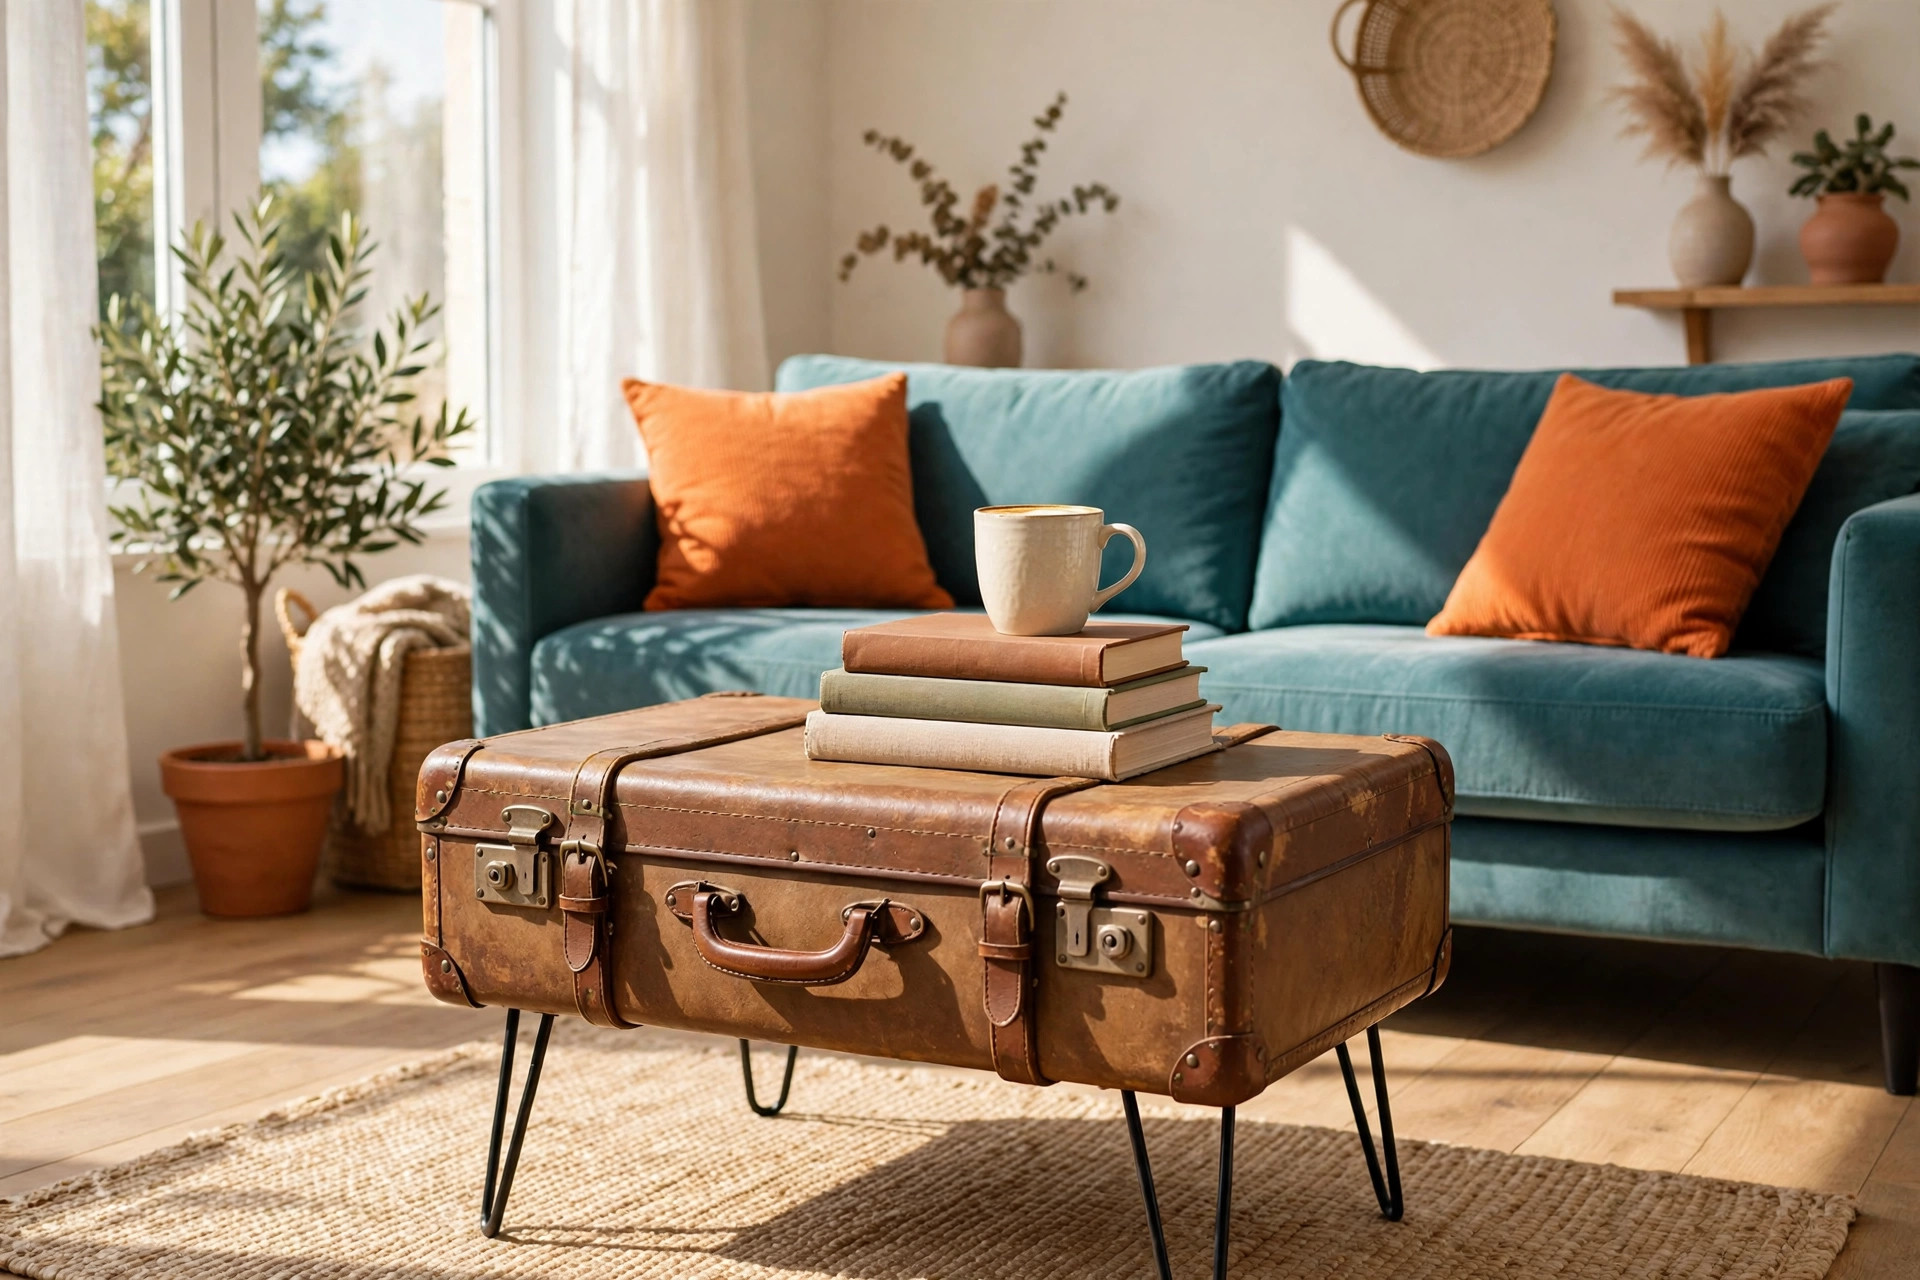
This flip travels well to flea markets and online listings because it photographs beautifully and solves a real problem — renters and dorm dwellers always need storage that does not look like a plastic bin.
Price from your costs outward. Add up the suitcase, legs, plywood, and supplies, then factor in your cleaning and build time. Listings do better with a photo of the open case, since the storage is the selling point, plus one shot showing the underside and legs so buyers can see the build is solid. Mention the suitcase’s era and any original details you kept. Leave out any claim you cannot back up — if you do not know the brand or the exact decade, say “vintage” and let the photos talk.
One practical note: ship this piece local-pickup if you can. The legs make the box awkward, and freight costs eat the margin fast.
FAQ
Can any suitcase become a coffee table?
No. Hard-shell cases work; soft-sided, cardboard, and fabric cases flex under weight and make unstable tables. Train cases and vanity cases are too small for a coffee table but convert into side tables with the same steps and shorter legs.
How much weight can a suitcase coffee table hold?
With the plywood base installed and legs screwed into the panel, the table handles everyday coffee table loads like books, mugs, and a laptop. It is not a step stool or extra seating, and the lid should stay closed when anything heavy sits on top.
How do you get the musty smell out of an old suitcase?
Sprinkle baking soda over the lining, close the lid, and leave it overnight, then vacuum thoroughly. Repeat once if needed. Avoid scented sprays, which only mask the odor briefly. If the smell survives two rounds, remove the lining entirely.
What if the suitcase has no lining to save?
That is fine. The plywood base covers the bottom, and you can glue in fresh fabric cut about an inch oversize with the edges folded under, or leave the interior bare and paint it. Storage works either way.
Do the legs have to be hairpin legs?
No. Tapered wooden legs and angled mid-century style legs both suit vintage cases. Match the total height to a standard coffee table range of 16 to 18 inches, and always mount through the case into the plywood panel rather than into the case wall alone.
This article was created with AI assistance and reviewed by our editorial team before publishing.